Building a Deep Learning Computer
As I have mentioned in a few previous posts, if we’re going to use deep learning, we need some serious compute power. A few years back, deep learning really took off when researchers discovered they could accelerate all the math by making use of the parallel computing inherent in Graphics Processing Units (GPUs). Most deep learning systems today make use of Nvidia GPUs. Nvidia GPUs are well supported by all the popular deep learning software frameworks. They have a wide range of GPU platforms from $100 graphics cards to $130k deep learning systems (DGX-1). Since this is our first deep learning computer, we wanted something that will provide decent performance on a modest budget.
Picking the Parts
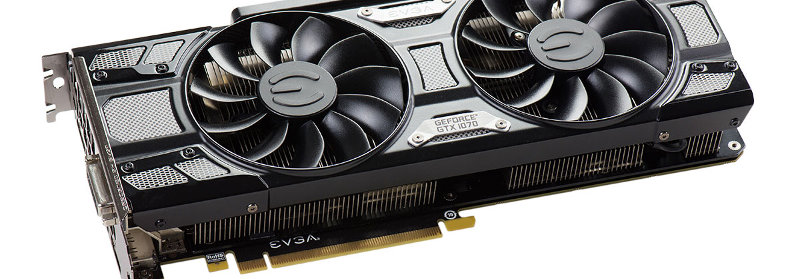
The key component for a deep learning system is the GPU, so we decided on that first. We were not going to get a pre-built deep learning workstation which starts at $8,000. Instead, we wanted to build a basic PC with a deep learning capable graphics card. The Titan X is popular with researchers, but they are $1,200 and hard to find. Most of the consumer graphics cards for gaming can be used for deep learning. This blog post has a chart of the common Nvidia GPUs comparing both their cost per performance and cost per memory. From the chart, we decided on the GTX 1070, and more specifically, the EVGA GeForce GTX 1070.
We chose the rest of the components using various tradeoffs. For example, we initially planned for a system which could support up to 4 graphics cards, but decided on a smaller, quieter form factor in the end. Here’s our complete part list:
- CPU: Intel Core i5-6500 3.2GHz Quad-Core Processor
- Motherboard: MSI B150M BAZOOKA Micro ATX LGA1151
- Memory: Corsair Vengeance LPX 16GB (2 x 8GB) DDR4-2666
- Storage: Samsung 850 EVO-Series 500GB 2.5” Solid State Drive
- Video Card: EVGA GeForce GTX 1070 8GB SC GAMING ACX 3.0 Black Edition Video Card
- Case: Thermaltake Core V21 MicroATX Mini Tower Case
- Power Supply: EVGA SuperNOVA G2 550W 80+ Gold Certified Fully-Modular ATX Power Supply
- Keyboard: Logitech MK120 Wired Slim Keyboard w/Optical Mouse
- Monitor: We already have one
You can see the Hypraptive ML #1 Part List on PCPartPicker. We bought everything on Amazon for about $1,100 an received it all two days later.
Hardware Build
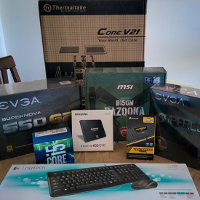 We have been using laptops exclusively for quite a few years. When all the boxes arrived, we were a little daunted by the thought of putting it together. We decided to check out some videos showing computer builds.
Fortunately, we found a video from PCParkPicker that was almost exactly the same part list we were using: $1000 Gaming PC - Intel i5-6500 / GeForce GTX 1070. After watching it once all the way through, we simply followed it step by step, pausing the video each time we needed to do something.
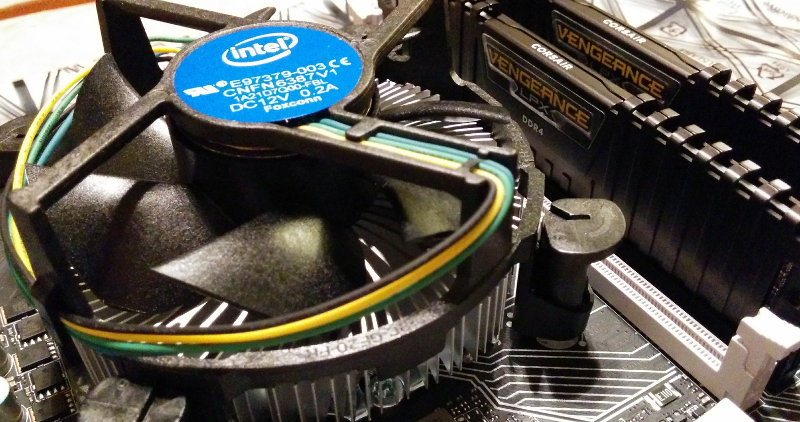
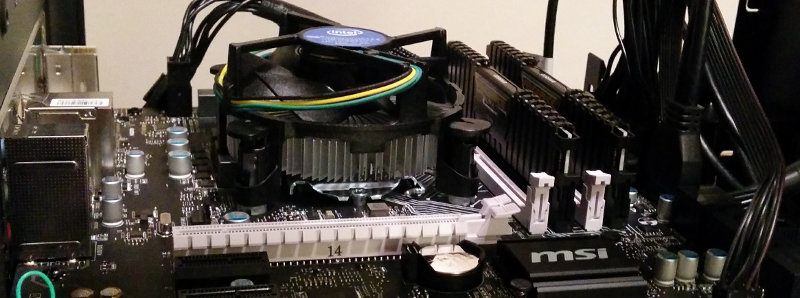
Motherboard, CPU and DRAM
Following the video, we started with the motherboard and installed the CPU and DRAM. I’m glad we watched the video first, because when the plastic socket cover popped off, I think we would have flipped out! Even watching the video, my initial thought was that the guy broke something. In any case, we installed the components with no major problems. Our fan cable for the stock CPU cooler was a little short, but we managed to get it connected.
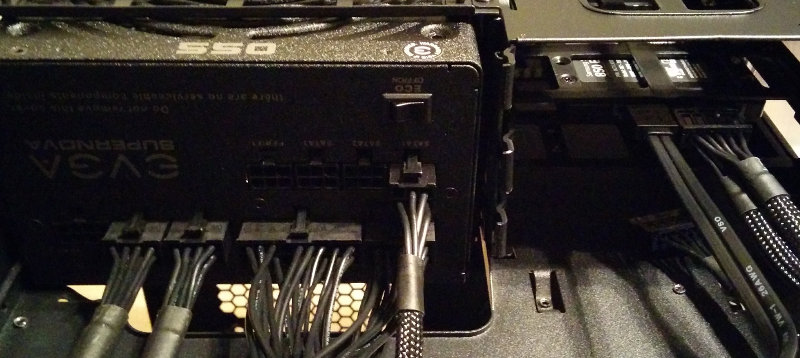
In the Case: Power Supply and Hard Drive
Mounting the Power Supply Unit (PSU) was pretty straight forward. The support bracket was a little tricky. It could be useful to see how the bracket latches in to the hard drive cage wall before you install the PSU. It’s hard to see afterwards. Mounting the Solid State Drive (SSD) to a hard drive sled was easy enough, but some of our sleds didn’t seem to stay put very well. We found the most secure location and put our SSD there. Then we connected all the cables to the PSU and SSD.
In the Case: Motherboard
The motherboard installation was a matter of popping in the back plate and screwing in 6 screws. The screw holes on the motherboard furthest from the back plate are not used for mounting with the case we are using. This part of the board has no support underneath either. When plugging cables in to this edge, put a hand underneath for support. Once we plugged in all the power and front panel cables to the motherboard we were nearly done.
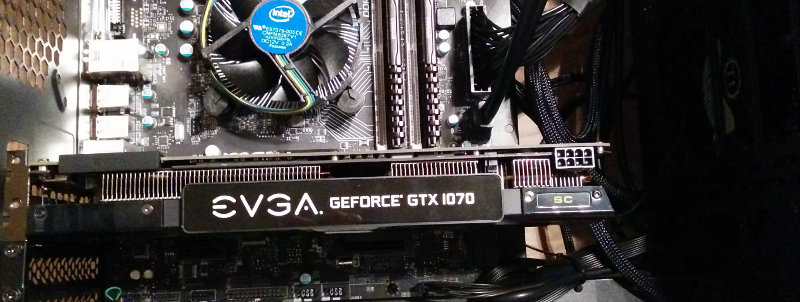
Add in the Real Power
All that was left was adding in the real power, the graphics card. The GeForce GTX 1070 takes two of the expansion slot holes in the back, but only one PCIe slot. Plug in the card, secure it to the back plate and plug in the power cable.
Booting
That build was complete, it was time for the moment of truth. We plugged in the monitor, keyboard and mouse, turned on the computer AND… Nothing!
We want to use the built-in graphics of the CPU/motherboard so we can keep the video card free for deep learning. We had our monitor plugged in the the DVI port on the motherboard. However, the default video output is through the graphics card. We switched the DVI cable to the graphics card, turned on the computer again AND… we saw the boot screen!
BIOS
To change the default video output, we restarted the computer and entered the BIOS by pressing the Delete key while the computer was starting to boot.
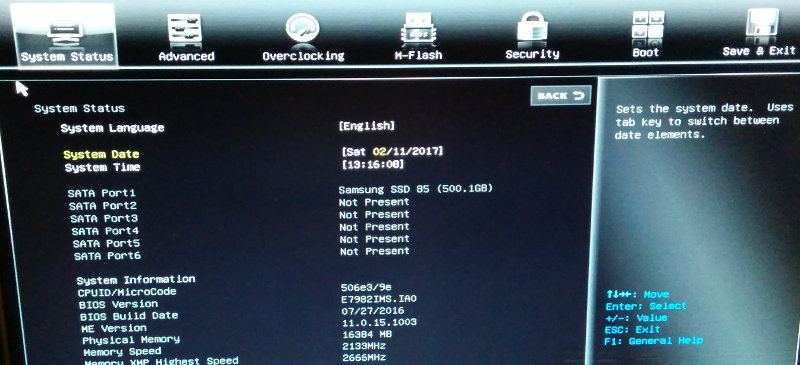
In the BIOS, under the Advanced tab, we selected the Integrated Graphics Configuration. We changed the setting from PEG to IGD, saved the new settings and powered down the computer. Next we switched the DVI cable back to the port on the motherboard. Turning the computer on again, we got the boot screen.
Ubuntu Bootable USB Stick
 We plan to run Ubuntu on this machine. The easiest way to get a new computer running Ubuntu is with a bootable USB stick. We already had a 2GB USB stick. We downloaded Ubuntu 16.04 for Desktop and followed these instructions for Mac OS to make the bootable USB stick using UNetbootin. There are different methods for making the stick on other operating systems.
Once the bootable USB stick was ready, we plugged it in to a free USB port on the computer and reboot. During boot up, you will have a few options, including install Ubuntu or boot to the desktop. We chose the latter and got to the desktop screen successfully. Eventually from the desktop we double-clicked the icon to install Ubuntu.
Next Steps
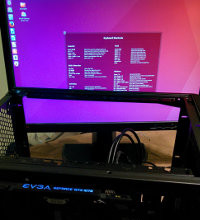
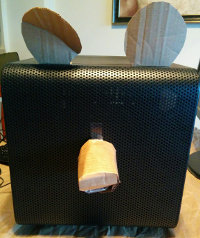 Now we have our first deep learning computer ready to go. While installing Ubuntu, we were prompted for a name. In honor of our favorite bear from Brooks Falls, we dubbed our new computer Otis. We even gave the case a bit of a makeover for the occasion (pictured on left).
The new computer with the GPU should make our deep learning tasks run much faster. We still need to install all the necessary software, then we can get back on track with the project.
More on that next time, or as the Brooks Falls bearcam watchers say when signing off: SBD (Sweet Bear Dreams).